The security of your hosting space is a top priority. Your cPanel account gives access to your files, your databases, your emails and much more. A password alone is no longer enough — which is why we strongly recommend enabling Two-Factor Authentication (2FA).
In this article, we explain step by step how to set up 2FA on your cPanel hosted with HOSTARTS.
What is Two-Factor Authentication?
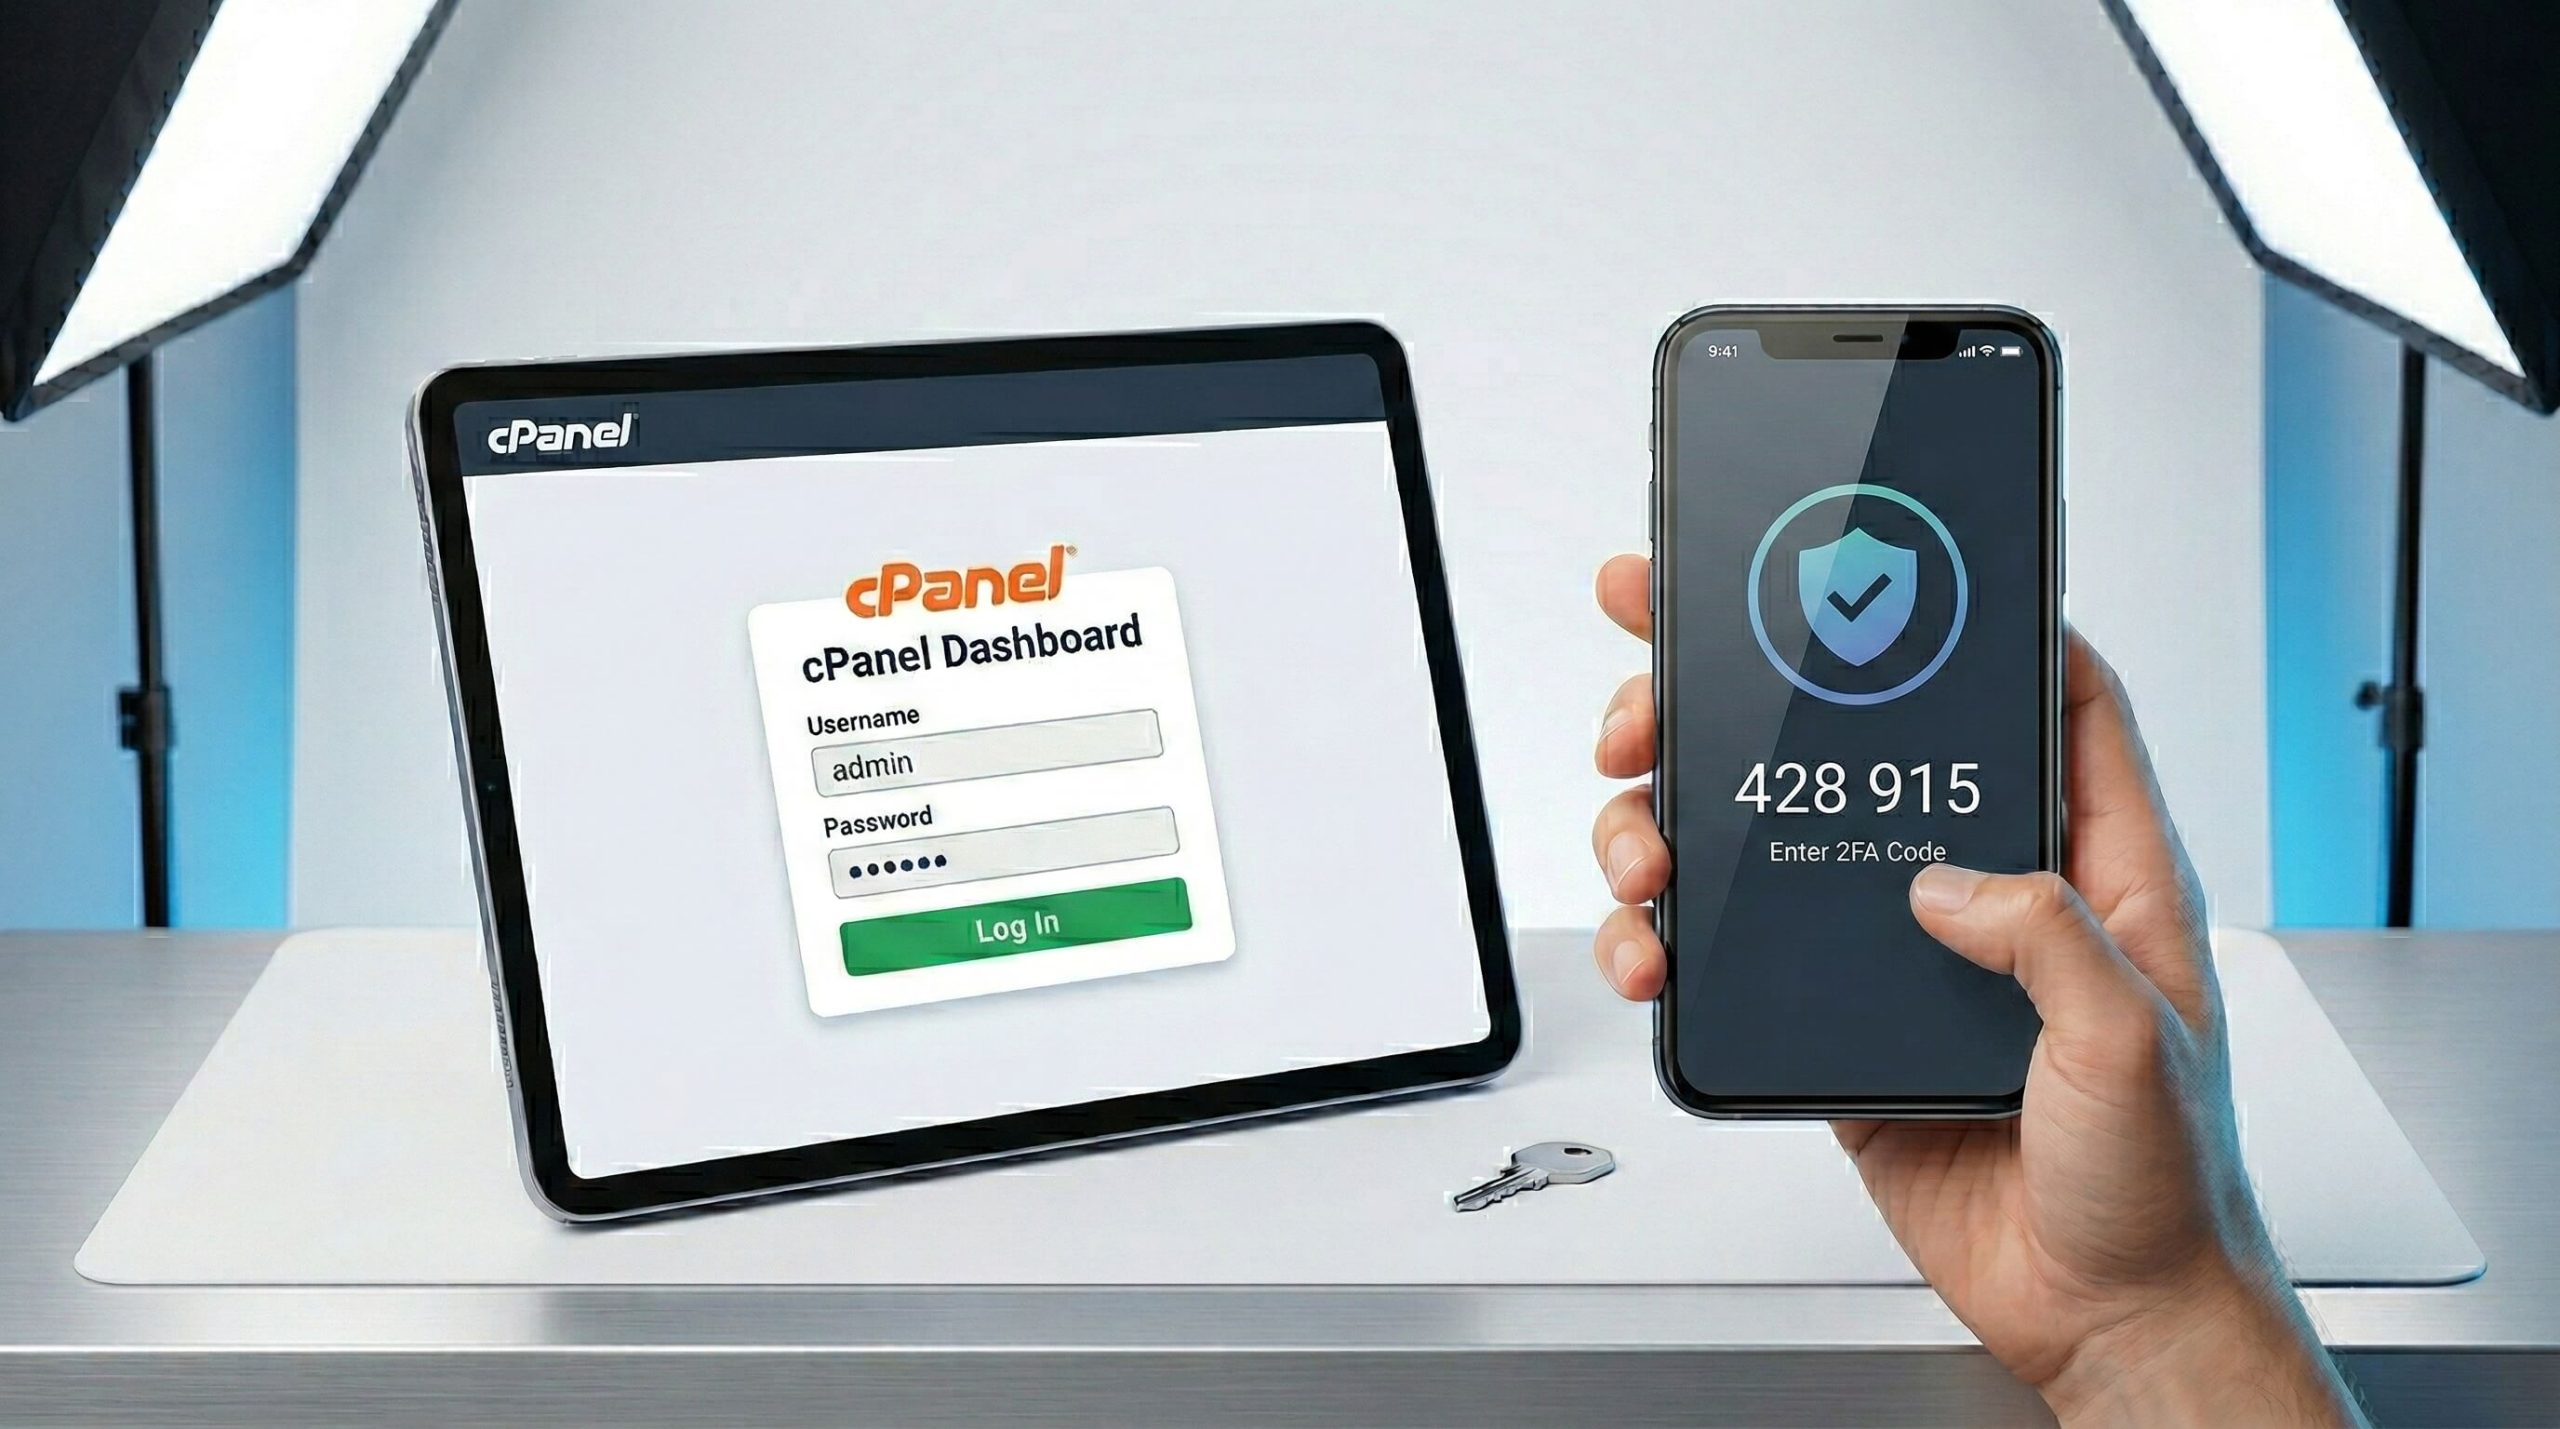
2FA is an additional layer of security that requires
two proofs of identityto access your account:
- Your password (something you know)
- A code generated by an app on your smartphone (something you have)
Even if an attacker obtains your password, they will not be able to log in without physical access to your phone. It is a powerful protection against phishing, brute-force attacks and password leaks.
Before you start: choose your 2FA app
To use 2FA on cPanel, you will need an authenticator app on your smartphone. At HOSTARTS, we recommend:
- Google Authenticator — Simple, fast and available on Android and iOS
- Microsoft Authenticator — Ideal if you already use the Microsoft ecosystem, available on Android and iOS
Both apps are
freeand work without an Internet connection once configured.
Step 1: Access the Two-Factor Authentication section
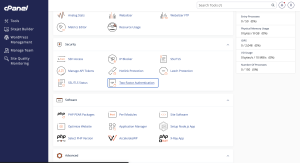
Log in to your cPanel, then scroll down the page to the
Securitysection. Click on
Two-Factor Authentication.
You will land on the setup page. If 2FA is not yet enabled, you will see a yellow warning indicating that two-factor authentication is not configured for your account.
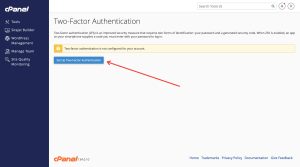
Click the
Set Up Two-Factor Authenticationbutton to get started.
Step 2: Scan the QR code with your app
Once on the setup page, you will see a
unique QR codelinked to your account.
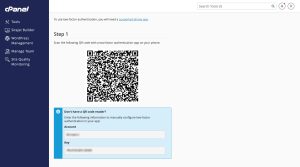
Here is how to proceed depending on your app:
With Google Authenticator
- Open the app
- Tap the + at the bottom right
- Choose Scan a QR code
- Point the camera at the QR code displayed in cPanel
With Microsoft Authenticator
- Open the app
- Tap + then Other account (Google, Facebook, etc.)
- Scan the QR code displayed in cPanel
💡 No QR code reader? Don't worry. cPanel also displays a manual key (Account + Key) that you can enter directly in your app using manual entry mode.
Step 3: Validate the setup
After scanning the QR code, your app generates a
6-digit codethat refreshes every 30 seconds. Enter this code in the field provided in cPanel to confirm that synchronization is correct, then submit.
Result: your account is secured!
Once the setup is complete, the 2FA page now displays a green message confirming that two-factor authentication is active on your account. You also have the option to
Reconfigureor
Remove2FA if needed.
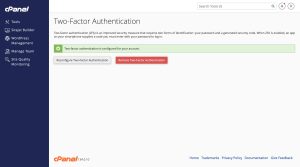
From now on, every login to your cPanel will ask for your password
ANDthe code generated by your app.
Important tips
- Do not delete the app from your phone without first disabling 2FA from cPanel, otherwise you may no longer be able to access your account.
- Save the manual key (displayed during setup) in a safe place; it will let you reconfigure 2FA on a new device.
- If you change phones, remember to reconfigure 2FA before resetting the old one.
- If you lose access, contact HOSTARTS support, who can assist you after verifying your identity.
Conclusion
Enabling 2FA on your cPanel is one of the simplest and most effective measures to protect your hosting. In just a few minutes, you add an extra shield against unauthorized access.
At HOSTARTS, your security is our priority. Do not hesitate to contact our support team if you need help during the setup.
Stay secure! 🛡️